Blog

  • HOW TO – MAKE YOUR OWN CARDS

    HOW TO – MAKE YOUR OWN CARDS

    I am a complete sucker when it comes to all things personalized.  I am also an utterly complete sucker for greeting cards.  Beyond this, I am an utterly completely ridiculous sucker for receiving a personalized (ie homemade) greeting card for no reason at all.  Those that know me know my obsession with one-of-a-kind gifts… accompany the gift with one of these one-of-a-kind-made-by-fabulous-little-you cards.


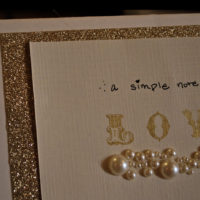
    1. Layout all of your supplies.  I love to use things I already have. Some leftover paper from Valentine’s Day (seen here), linen paper used to make the menus for my sister’s surprise birthday party (seen here), stamps used to make place cards (seen here), and pearl details that were remnants from a wedding that I had designed (seen here).
    2. Get a great tool with which to cut straight edges. I swear by my Martha Stewart Simple Paper Trimmer (buy it here).
    3. Use your paper cutting handy dandy tool to trim your main paper (the card’s base) to the size that you want.
    4. Fold your base paper in half.
    5. Cut your secondary paper (use something flashy… you know you want to) to be a bit smaller than the folded portion of the front of your card.
    6. Adhere the secondary paper to the base paper using double stick tape (if you don’t already own some… buy some. now.).  Cut your third piece of paper to a slightly smaller size than your secondary paper.  I used linen paper (you know, the fancy resume kind)… I love the texture. So posh.
    7. Time for some stamping. Lay out the stamps on your paper before inking as a guide.  Don’t worry if you don’t stamp in a completely straight, perfectly spaced line. The charm is in the imperfections.
    8. See? Imperfect, but still darling.
    9. Add some of your own (charmingly imperfect) handwriting and a little embellishment if you feel like it. I did.
    10. Double stick tape (ah, yes. again.) your third piece of paper to your secondary, glitzy paper. There you have it. An adorable, made-by-you card.
    11. See again? Imperfections… crooked handwriting. Not every corner in place. Everything slightly off-center. That’s the best part.
    12. Line the inside with more luxe linen paper. With such an adorable card just keep the message short and sweet. It’s more than enough.
    13. Add a little more personalization on the back. You’re so crafty. And chic. And adorable. And perfect. That’s what the person that you give the card to will think. So, take a little time… let someone know they’re worth it to you.

  • QUILTED LEATHER

    QUILTED LEATHER

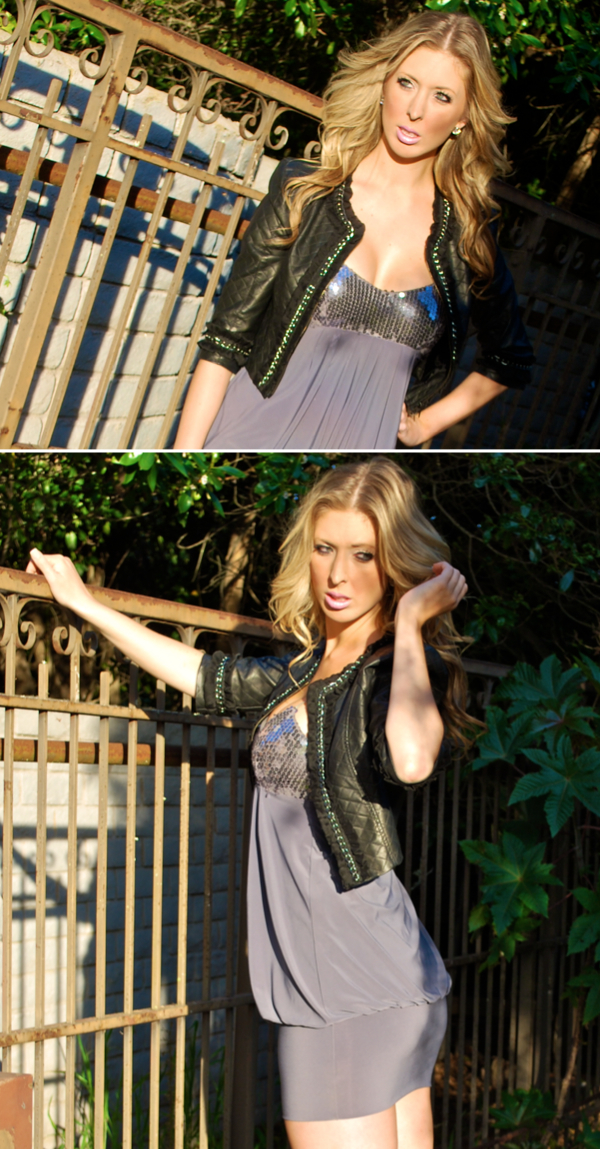
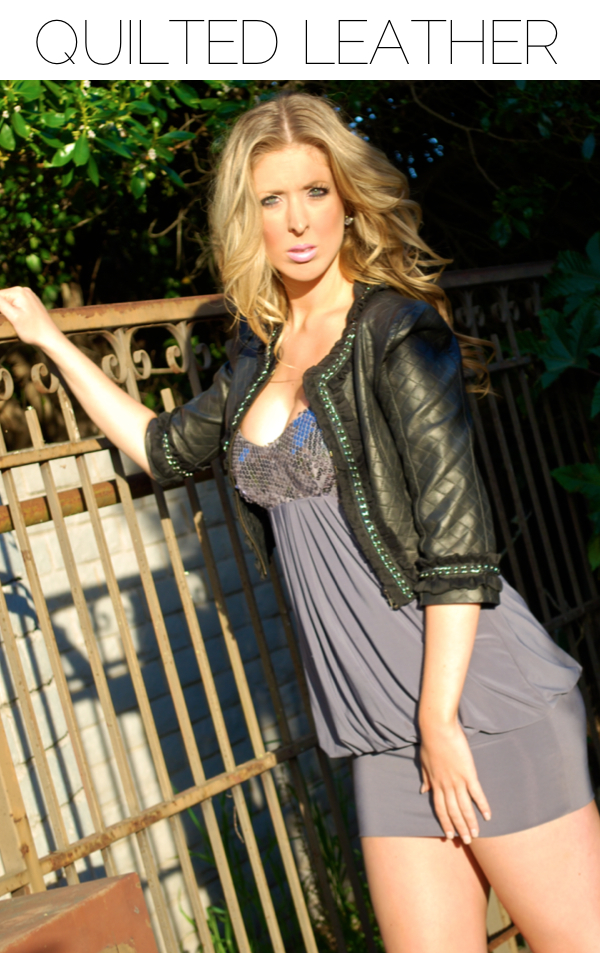
    Jacket, F21. Dress, B.Darlin. Shoes, I.N.C.

    At the end of a loooooong work week, nothing kicks off the weekend like going out with your best girlfriends to play with the city lights.  When the night’s plans include a nice dinner downtown followed by some time on State Street {Santa Barbara’s main drag}, the look needs to be appropriate for the nightlife yet refined.  A sequined gray mini dress leads to some major skin exposure {perfect for nighttime}… balance the look by covering up with a feminine, ruffled, quilted, chain embellished leather jacket {now you’re refined, gorgeous}.


  • MAXI CHIC

    MAXI CHIC

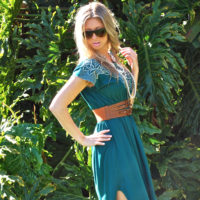
    Sunglasses, Chanel. Necklaces, F21. Belt, Gossip Santa Barbara. Dress, Vertigo {Paris}.

    I had a day full of business meetings and shopping {yesssss!} ahead of me.  The fashion challenge was to look polished and effortless, while still maintaining a level of comfort {didn’t want to have to cut shopping time short}.  Enter: the maxi dress.  It comes in endless styles and every imaginable color (though I’m a sucker for embroidery and jewel tones… it totally screams “High End Puerto Vallarta Vacation”… hey, a girl can dream).  This look is killer on any body type and it makes a statement {you are a confident. bold. perhaps international (make ’em wonder). vision of a woman.}.  Cinch the look with a belt or wear it loose.  Beachy waves in your hair and a pair of statement sunglasses on your face complete the look.

  • HOW TO – ARRANGE FLOWERS

    HOW TO – ARRANGE FLOWERS

    There is nothing like having a fresh bunch of flowers in your home. On your desk. On a table. Anywhere.  Everywhere.  However, you don’t want those flowers to appear as if they have been haphazardly thrown into a vase.  Each and every flower should look like it is exactly where it is intended to be.  Here’s how…

    {You should have two pairs of cutting tools… One standard pair of scissors [make sure they are sharp!] and a smaller [very sharp!] pair of pruning shears.  Also, have a vase waiting filled 1/3 full of water}

    {Purchase flowers in a single hue… White is always fresh and looks classic.  Arranging buds in a single color takes less precision than a multi-colored arrangement… less room for error!}

    {Lay your flowers out on a clean and open surface and use your standard scissors to remove any wrapping and binding from the flowers}

    {Use your pruning shears [careful! they’re verrrry sharp!] to remove all leaves and thorns from flowers.  This results in a crisp looking flower arrangement.  Also, you never want leaves below the water level because they soak up too much water and then it doesn’t get to the bud}

    {Keep a bucket to catch all discarded greenery so you can dispose of it responsibly. Green waste! Compost!}

    {Cut all stems at a 45° angle… they soak up the water better that way. Also, cut the stem at a length where the head of the flower rests on the top of the vase}

    {Arrange the largest buds first.  They take up the most space and it’s easier to see where you can highlight your smaller [and usually more expensive!] buds}

    {Next… take your smaller flowers and fill in the gaps until the flower heads are tightly bunched}

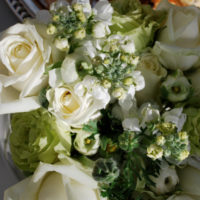
    {Voila! A completed arrangement… Aren’t the ranunculus to die for?}

  • FABULOUS EVENT – A SURPRISE BIRTHDAY BRUNCH FOR MY SISTER

    FABULOUS EVENT – A SURPRISE BIRTHDAY BRUNCH FOR MY SISTER

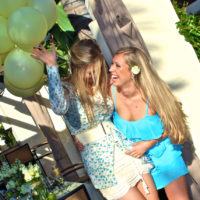
    So, if you don’t know by now… I run a design house in Santa Barbara (see it here or here).  One of the things I LOVE. Love. love. is event design.  My little sister (and my best friend in the whole wide world) was turning 24… I thought a surprise brunch in her favorite color {green} at her favorite restaurant (Blush of Santa Barbara) was in order.  I whipped up a theme, stuck with the color scheme, did a little graphic design on some menus, and scoured the local Farmer’s Market so that I could put together the flower arrangements {my how-to on arranging flowers is here!}.  A party isn’t truly a party without some ridiculously fabulous people… we’re blessed with the most fabulous friends that life has to offer.  Needless to say, with the genuine surprise on my sister’s face as she walked in (whew! she had no idea!), the wonderful guests in attendance, and the bottomless mimosas (no better way to pass a Sunday afternoon)… the party was quite a hit.

  • HOSTESS? DRESS THE PART

    HOSTESS? DRESS THE PART

    Cardigan, Akualani. Dress, Bizz. Belt, Gossip. Pearls, F21. Shoes, Anne Michelle.

    A hostess needs an outfit that is functional (she has to be able to set up the party) and appropriate (a hostess’ outfit should perfectly suit the occasion).  I was throwing my sister a surprise birthday party (fun!) that was a semi-formal brunch (classy!) {see the event here!}.  A 50’s style cardigan and pearls provided the class, while a short dress and high heels complemented the feeling of celebration that accompanied the special occasion.