Before you begin reading, you should be warned: this is not my normal, oh-so-glamourous little blog entry. This post deals with the organization of a somewhat daunting “grown-up” item: the filing cabinet. I felt compelled to tackle this subject because I recently conquered my fear of owning one, filling it, and using it properly. I now use this item. Daily. And I now feel empowered. I want you to feel the same…
Once upon a time… I didn’t even have documents in my filing cabinet. I took a sad industrial filing cabinet {it had potential!} and painted it a slight off-white and distressed it. Gorgeous. Industrial refurbished chic! I did this, not because I needed a filing cabinet, but because I thought it was an interesting piece of decor. I then had a large salvaged filing cabinet taking up space in my place. Not knowing how to correctly utilize such a cabinet, I filled it with miscellaneous odds and ends. Then, one day, I put some paper documents inside my cabinet {kind of… I basically just threw them in there}… hence, this “Before” photo:
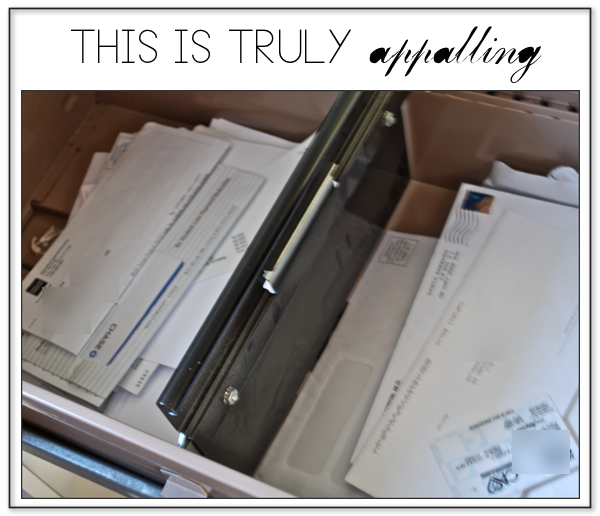
Yes. Blech. Eck. Hey, at least there were now papers in my filing cabinets… but I was still missing {drumroll, please…}: files. I grabbed all of my loose “important papers” {basically anything with my social security number somewhere on it} that I didn’t know what to do with and threw them on the floor. I then left them there. For two weeks. For a super-organized person like myself, a mess that lasts two weeks is startling. Two weeks of loose papers scattered all over my white rug is cause for alarm. I was clearly dealing with some kind of mental overload. I decided to find order amid the chaos. I began to put things into piles that made sense. This is a very ugly photo, but I was proud of my progress.
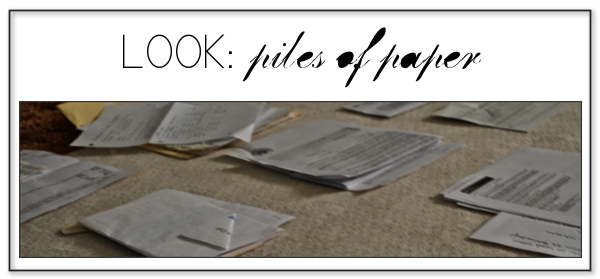
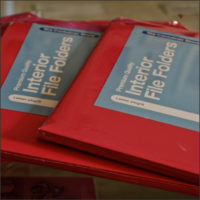
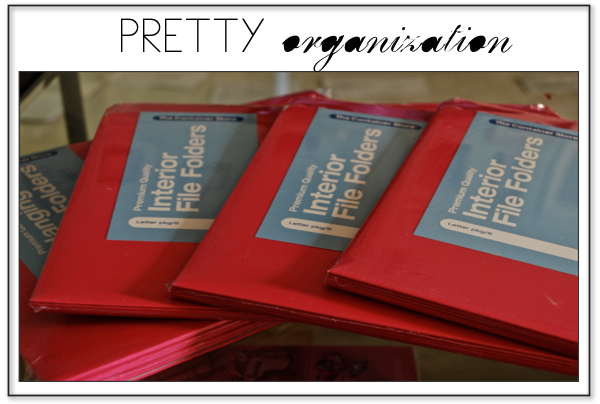
Eventually, themes began to emerge. I noticed a lot of financial documents. Documents pertaining to my business. Documents that bespoke of my overwhelming law student loan debt {perhaps these documents in particular were why I waited two weeks to deal with all the miscellaneous stacks of paper}. Documents that dealt with my writing. Others that pertained to my car. And so on and so forth. Aha! These piled documents made more sense {and were far less overwhelming} when they were placed together. Then I put them in chronological order. Now they made even more sense. Now what? Yes! Time to put them into files! I jumped online and went to The Container Store {another sick type-A personality driven obsession of mine} and purchased some folders that made filing fun {okay, not fun… but at least they made filing somewhat stylish… and pink}.
It was time to label the folders with the little subthemes that popped out after I sorted the papers into their respective piles. My love for my label maker continues. I am soon investing {warning: nerd alert} in a pink label maker with a myriad of font options. Here are some label maker options for you…
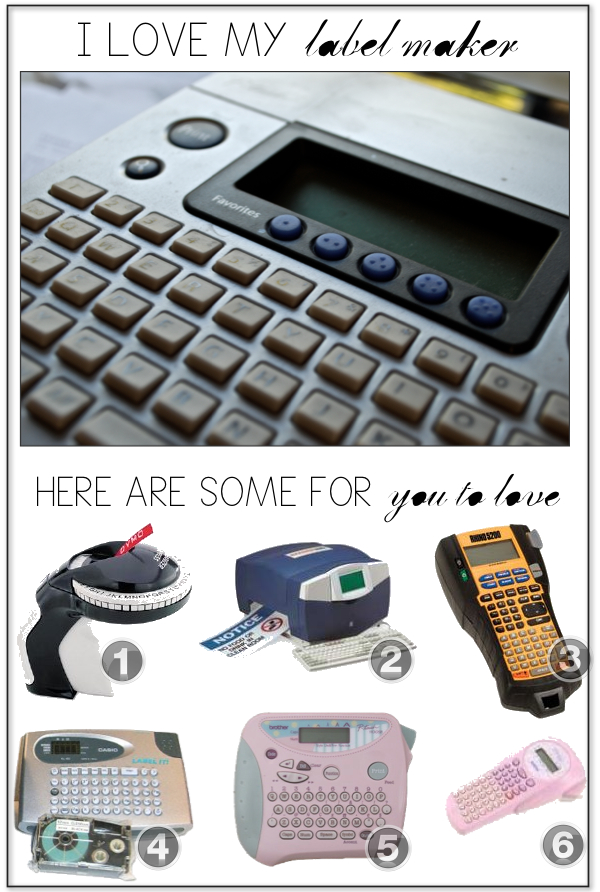
1. Organizer Xpress Pro Embossing Label Maker $9
2. Brady Worldwide, Inc. 13500 Sign and Label Maker $4946
3. Costar 1755749 Rhino 5200 Label Printer Industrial Printer $104
4. Casio KL60SR Compact EZ-Label Maker $25
5. Brother PT1100SB-RF Scrapbook P-touch Label Maker $65
6. Brother PT-1000P Handheld Labeling Machine Limited Edition – Pink $40
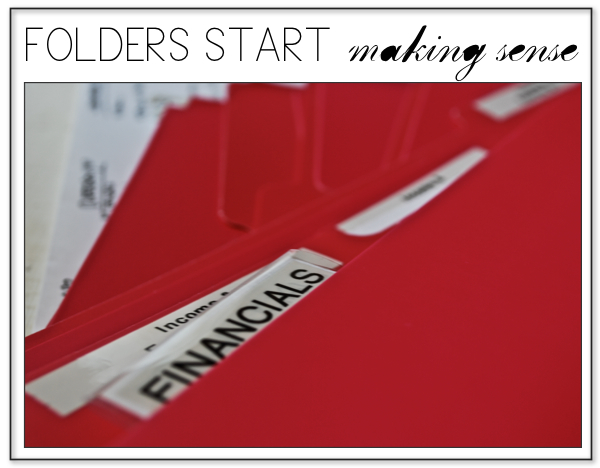
Then I printed up all of my labels and utilized the filing folders. I thought it was {sigh…} beautiful.
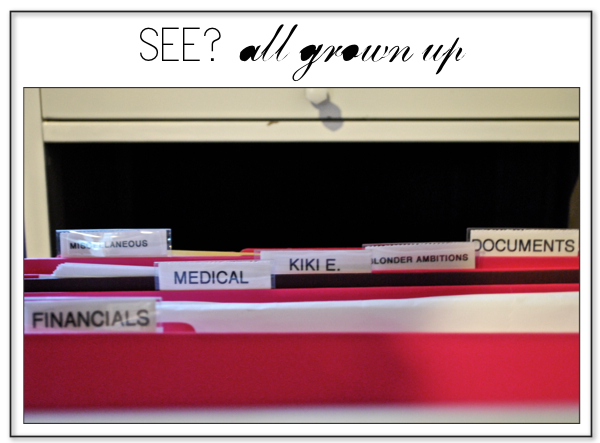
Finally, I placed my neatly organized and no longer intimidating files where they belonged. And now you can, too.


Leave a Reply