Category: Gifts

  • ‘BE MINE’ VALENTINE GIVEAWAY

    ‘BE MINE’ VALENTINE GIVEAWAY

    be mine 1a

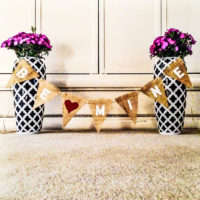
    I came across an adorable shop on Etsy called Sweet Thymes.  According to the business owner, Monique Smaby, Sweet Thymes is “Elegant, Rustic Event Decor. Handmade in California.”  Her designs are charming… who couldn’t use some burlap and twine in their life?  Monique, who has a background in events and fashion design, has teamed up with Blonder Ambitions for a giveaway just in time for Valentine’s Day!

    (more…)

  • CHRISTMAS CRAFT – FESTIVE JACK & COKE

    CHRISTMAS CRAFT – FESTIVE JACK & COKE

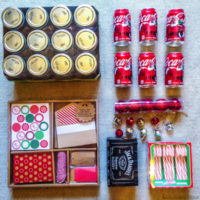
    christmas craft 1

    An adorable gift perfect for anyone on the nice (or naughty!) list…

    (more…)

  • HOW TO – MAKE THE PERFECT GIFT BASKET

    HOW TO – MAKE THE PERFECT GIFT BASKET

    One of my childhood friends was having a tea for her bridal shower… after settling on a Betsey Johnson New York crocheted navy and pink frock and hot pink ruched pointed toe pumps, I decided to shop for her {coordinating} pink gift.  I figured that with Easter right around the corner… a bridal basket would be right on point.  What bride-to-be wouldn’t love some pink kitchen accessories, killer cupcake mix (with the perfect pearl topping!), and some gourmet truffles to eat while she bakes?  A simple gift basket how-to is below.


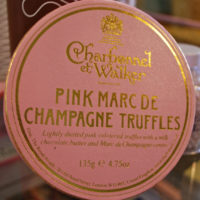
    1. Gather all materials… basket, tissue paper, ribbon, any other accessories, and the gifts.  For the gifts, try to stick with some kind of a theme (here the theme was twofold: pink and cupcakes)… All these gorgeous goodies are from Williams-Sonoma. 2. The adorable edible sugar pearls that are ideal for chic cupcakes. 3. Yum. Chocolate + champagne + pink + gold leaf = p.e.r.f.e.c.t.i.o.n. 4. Tie your ribbon around the basket and line the bottom of the basket with coordinating tissue paper that is all bunched up. 5./6. The final basket… with tiny faux flowers in the corner for a sweet touch. ♥

  • HOW TO – MAKE YOUR OWN CARDS

    HOW TO – MAKE YOUR OWN CARDS

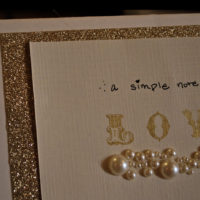
    I am a complete sucker when it comes to all things personalized.  I am also an utterly complete sucker for greeting cards.  Beyond this, I am an utterly completely ridiculous sucker for receiving a personalized (ie homemade) greeting card for no reason at all.  Those that know me know my obsession with one-of-a-kind gifts… accompany the gift with one of these one-of-a-kind-made-by-fabulous-little-you cards.


    1. Layout all of your supplies.  I love to use things I already have. Some leftover paper from Valentine’s Day (seen here), linen paper used to make the menus for my sister’s surprise birthday party (seen here), stamps used to make place cards (seen here), and pearl details that were remnants from a wedding that I had designed (seen here).
    2. Get a great tool with which to cut straight edges. I swear by my Martha Stewart Simple Paper Trimmer (buy it here).
    3. Use your paper cutting handy dandy tool to trim your main paper (the card’s base) to the size that you want.
    4. Fold your base paper in half.
    5. Cut your secondary paper (use something flashy… you know you want to) to be a bit smaller than the folded portion of the front of your card.
    6. Adhere the secondary paper to the base paper using double stick tape (if you don’t already own some… buy some. now.).  Cut your third piece of paper to a slightly smaller size than your secondary paper.  I used linen paper (you know, the fancy resume kind)… I love the texture. So posh.
    7. Time for some stamping. Lay out the stamps on your paper before inking as a guide.  Don’t worry if you don’t stamp in a completely straight, perfectly spaced line. The charm is in the imperfections.
    8. See? Imperfect, but still darling.
    9. Add some of your own (charmingly imperfect) handwriting and a little embellishment if you feel like it. I did.
    10. Double stick tape (ah, yes. again.) your third piece of paper to your secondary, glitzy paper. There you have it. An adorable, made-by-you card.
    11. See again? Imperfections… crooked handwriting. Not every corner in place. Everything slightly off-center. That’s the best part.
    12. Line the inside with more luxe linen paper. With such an adorable card just keep the message short and sweet. It’s more than enough.
    13. Add a little more personalization on the back. You’re so crafty. And chic. And adorable. And perfect. That’s what the person that you give the card to will think. So, take a little time… let someone know they’re worth it to you.
  • HOW TO – MAKEOVER A BROWN PAPER BAG

    I always seek originality when giving a gift.  A gift, even the wrapping, should feel personalized.  This is especially true on Valentine’s Day… a day when the whole point is to show someone that you took a little extra time to show them you love them.   I decided to hit up the local craft store and buy some glittery paper, some V-Day style glittery hearts, and some brown paper bags.  Then I let my imagination run wild.  The result is an eye-catching and completely unique gift bag.  No need for a gift card… The bag is sentiment enough.