Category: DIY

  • CUSTOM VITAMIN BOTTLE

    CUSTOM VITAMIN BOTTLE

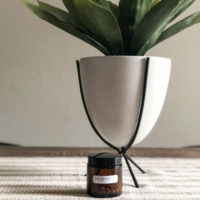
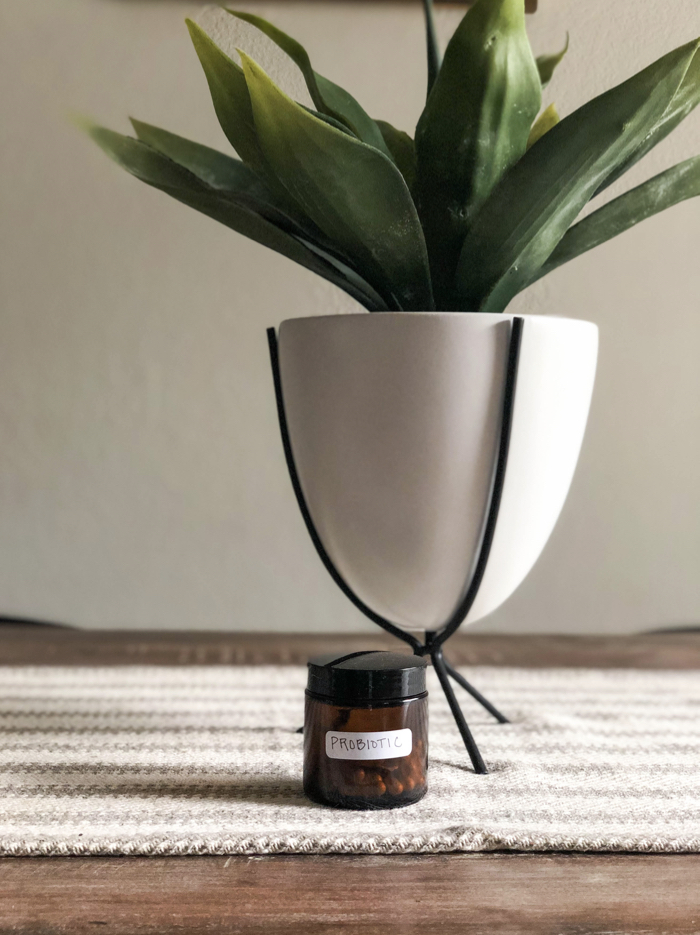
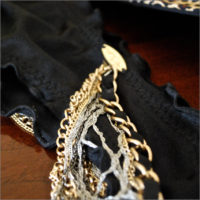
    Go ahead and call me particular (because I am)… but I felt the need to create a custom vitamin bottle so that my daily vitamin + supplement routine was more aesthetically pleasing. Opening my cabinet and seeing an array of bottles, colors, + sizes made my vitamin cabinet feel disorganized, overwhelming, + it really didn’t go with my whole newfound commitment to being as minimalist as possible (aka OCD).

    (more…)

  • GIVE THE PERFECT BABY SHOWER GIFT

    GIVE THE PERFECT BABY SHOWER GIFT

    I am only recently becoming a baby shower expert {which is terrifying… as I feel nowhere near ready for children of my own}… with the slew of showers, I found the best route to go was to personalize the gift in the form of a DIY gift basket.  Buy a large basket in a gender appropriate color {here, pink for a little girl}… the basket can later serve to hold baby clothes or diapers.  Line the basket with a baby blanket {much more fun than the usual tissue paper or raffia lining} and fill it full of color coordinated items.  For this basket, I combined pink and green and floral and leopard prints.  Also, make sure to include a festive card!

  • HOW TO – DECORATE A BOOKCASE

    HOW TO – DECORATE A BOOKCASE

    My bookcase has been a constant saga of reorganization and frustration {see here and here for the journey}… it was cute, but it wasn’t quite right.  So I decided to take a day and revamp the shelving decor.  Read on and you can learn how to take some ordinary shelving and make it something all your own.

    So, my bookcase was ooooookay {yawn}… but it wasn’t there yet.  I had already saved this bookcase from being sent to the dump {it used to be a horrible brown spotty wood color… I painted it glossy white and papered the back with a pink and white damask print}.  If it was worth saving, then it should be worth filling properly.  As I do with every design project for my company {if you’re curious about what I do, click here}, I start with an Inspiration Board {which is basically a collection of images that inspire me and helps collect my thoughts and direct my ultimate design vision}.


    *images courtesy of elements of style, the zhush, all things chic, and favim

    After looking at my Inspiration Board for design direction on my bookcase project, I started laying out all of my necessary decor items… namely books, framed photos, and miscellaneous knick-knacks/pretty things/sentimental items.

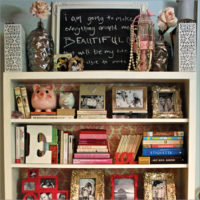
    The final step in the process is arranging all of the items so that they are aesthetically pleasing.  This involves a bit of trial and error and a lot of walking back and forth {so you can see what your arrangement looks like from different areas in the room}.  My final product {I am in love with it} looks like this…

  • HOW TO – DECONSTRUCT & RECONSTRUCT A T-SHIRT

    HOW TO – DECONSTRUCT & RECONSTRUCT A T-SHIRT

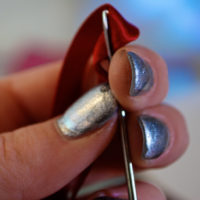
    I was headed to the Big Four… basically a huge metal music festival where Metallica, Slayer, Megadeth, and Anthrax would be playing… and I had no idea what to wear.  My man gave me one of his cherished Metallica T-Shirts and told me to do whatever I wanted with it.  Perfect.  With the assistance of an embroidery needle, a silver Sharpie, some awesomely sharp scissors, crimson ribbon, and a safety pin… I got exactly the Metallica shirt that I wanted.


    1. Gather your supplies… T-shirt. Silver Sharpie pen. Scissors. Ribbon. Etc. 2. The beginning T-shirt… Cute, but not quite the look I was going for. 3. My “Aha!” moment when I thought… “I can make over this shirt.” 4. Using the silver Sharpie to mark where to make the cuts.  5. Close up of the Sharpie markings. 6. I like this much better… a tank top! 7. No… I don’t. I can make it even better! 8. Cut a slit down the middle… yeahhhhh. 9. Love it. 10. Only loved it for .5 seconds… decided to cut up the sides.  11. Decided to re-stich the sides with some satin ribbon.  12. Stitching myself back up. 13. Happy! That’s what I wanted. 14. The finished product. I even added a metal-esque safety pin. Love.